Leave Your Home Ready for the Next Tenants - A Complete Move Out Cleaning Guide You Can Follow
When it's time to move out, leaving your home spotless is more than just a courtesy--it's often a requirement. Whether you're a renter hoping to get your deposit back or a homeowner preparing for new residents, a comprehensive move out cleaning is essential. Move out cleaning not only helps you fulfill your responsibilities but also leaves a positive impression on future occupants. In this in-depth guide, learn how you can efficiently leave your property sparkling clean for the next tenants.

Why Move Out Cleaning Is Essential Before You Leave
Move out cleaning isn't just about dusting and mopping; it's about giving the new tenants a fresh start and upholding standards of cleanliness. Here's why dedicating time to an extensive move out clean matters:
- Ensures Deposit Return: Landlords often require a clean property for deposit refunds.
- Meets Lease Obligations: Many leases stipulate that the home must be left in a clean, rentable condition.
- Good Impression: You're leaving your reputation behind with your old address--make it count!
- Avoids Extra Fees: Property managers charge significant cleaning fees for insufficient cleaning.
- Welcomes Next Residents: Thoughtful cleaning sets a warm welcome for the new tenants.
Moving Out Soon? Start Your Cleaning Plan Early
A well-organized moving out cleaning checklist can transform a daunting task into a manageable project. The secret is to start early--giving yourself time to tackle each room methodically. Here is the expert-backed approach to move out cleaning you can follow:
Pre-Cleaning Steps: Prepare Before You Scrub
- Declutter and Pack: Remove all personal belongings, empty closets, cabinets, and shelves. Packing up first will help you see what needs cleaning.
- Gather Cleaning Supplies: Make sure you have all necessary products: microfiber cloths, all-purpose cleaners, disinfectants, mop, vacuum, broom, sponges, gloves, glass cleaner, bucket, and scrub brushes.
- Triage Repairs: Patch up small holes in walls, replace burnt-out light bulbs, and take care of minor damages before getting into deep cleaning.
Room-by-Room Move Out Cleaning Checklist
For a truly effective move out cleaning, break the job down by room. This helps you ensure nothing is missed and keeps cleaning frustration at bay.
1. Kitchen Cleaning: Leave It Pristine for Next Residents
- Appliances -
- Refrigerator: Remove all food, shelves, and drawers. Clean with warm soapy water. Don't forget the seals and handles.
- Oven & Stove: Use oven cleaner for baked-on stains. Remove racks. Wipe stove burners and control panels.
- Microwave: Clean inside and out, including the turntable and keypad.
- Dishwasher: Run an empty cycle with a cleaning agent, wipe down the door and edges.
- Cabinets & Drawers: Empty, then wipe down surfaces inside and out. Pay special attention to corners and handles.
- Sinks & Countertops: Remove stains, sanitize, and polish. Clean faucets and backsplash areas.
- Floors: Sweep and mop, paying special attention to corners and under appliances.
2. Bathroom Deep-Cleaning for Moving Out
- Toilets: Scrub inside and out, including the base and behind the toilet.
- Showers & Tubs: Remove soap scum, stains, and hair from drains. Clean tiles, grout, faucets, and doors or curtains.
- Sinks & Vanities: Clean basins, mirrors, and countertops. Disinfect handles and light switches.
- Floors: Sweep, mop, and sanitize. Don't forget corners and behind doors!
3. Bedroom Move Out Cleaning Steps
- Empty all closets and wipe down shelves and hanging rods.
- Dust baseboards, window sills, and ceiling fans.
- Vacuum and/or mop floors, paying extra attention to edges and under furniture if left behind.
- Remove any nails, hooks, or adhesives from walls, patching if necessary.
4. Living Room & Common Areas: Key Move Out Cleaning Tasks
- Dust and clean light fixtures, switches, and sockets.
- Wipe down all walls and baseboards - spot clean scuffs.
- Clean all windows, glass doors, and mirrors for a streak-free shine.
- Vacuum or mop all flooring surfaces, ensuring corners are debris-free.
- Check blinds and curtains and dust or wipe them as needed.
Don't Forget These Commonly Missed Move Out Cleaning Details
When preparing a move out cleaning plan, certain overlooked areas can lead to deductions in your deposit or complaints from new tenants. Double-check these:
- Behind appliances: Move stove, fridge, or washer/dryer if possible and clean underneath/behind.
- Air vents and filters: Dust or replace if needed.
- Garage, basement, attic: Clear belongings and sweep out cobwebs and dirt.
- Patios and entryways: Sweep and tidy up external entry points.
- Fireplaces: Remove ashes and wipe surfaces if applicable.
Essential Products for a Successful Move Out Clean
Having the right supplies makes a huge difference in the quality and speed of your cleaning. Here's a quick list:
- Multipurpose cleaner
- Disinfectant wipes/spray
- Glass cleaner
- Baking soda & white vinegar (eco-friendly options)
- Magic eraser sponges for scuffs and stains
- Old toothbrush for tight spaces
- Microfiber cloths for dusting and polishing
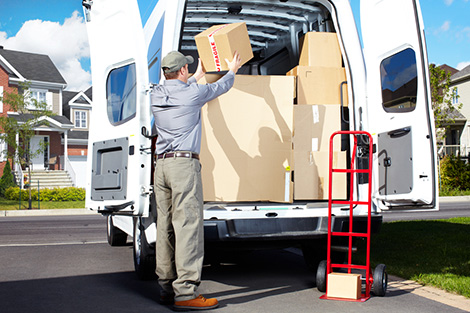
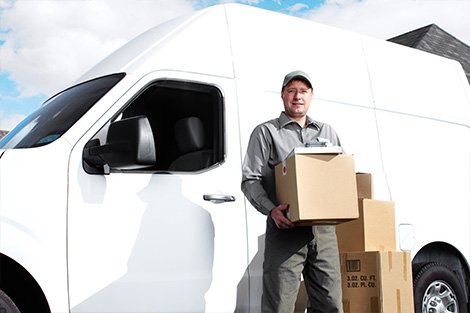
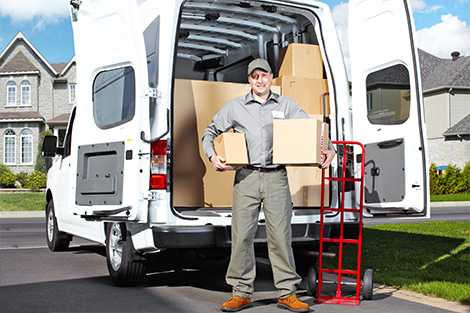
Professional Move Out Cleaning vs. DIY
Should you do your own move out cleaning or hire professionals? It depends on the size of the property, your schedule, and your standards. Here are the pros and cons:
- DIY Move Out Cleaning: Saves money and lets you control the process, but it's time-consuming and can be stressful if you're short on time or energy.
- Professional Move Out Cleaning: Guarantees high standards, saves time, and often comes with a satisfaction guarantee. This can be especially helpful if your landlord is picky or you have a large property.
If you choose to hire a professional move out cleaning service, ask for a checklist of what is included, ensure they're insured, and read online reviews for peace of mind.
Expert Tips for a Successful Move Out Clean
- Start from the Top Down: Clean ceiling fans, shelves, and surfaces before floors so that dust and debris don't fall on already-cleaned areas.
- Work in Sections: Complete one room before moving on for a sense of progress and organization.
- Use Natural Light: Clean during the day if possible so you can spot hidden dirt and dust.
- Don't Rush: Rushed cleaning often results in missed spots and overlooked details.
- Document Your Work: Take photos after cleaning each area as evidence in case of deposit disputes.
Cleaning Checklist Summary to Print or Save
- Kitchen: Appliances, cabinets, sink, counters, floors
- Bathrooms: Toilet, tub, shower, sink, mirrors, floors
- Bedrooms: Closets, baseboards, floors, walls
- Living Areas: Dust, windows, floors, blinds, fixtures
- Extra Areas: Hallways, stairs, laundry, garage
- Missed Spots: Vents, filters, behind appliances, outdoor entry
Frequently Asked Questions About Move Out Cleaning
1. How long does a move out cleaning take?
The duration depends on your property size and its condition. A small apartment may take 4-6 hours, whereas a large home may require a full day or more.
2. What are landlords or agents looking for during inspections?
Landlords look for cleanliness in hard-to-reach places--inside appliances, light fixtures, corners, and signs of damage. Using a dedicated move out cleaning checklist covers their typical concerns.
3. Can I perform move out cleaning myself?
Absolutely! With the right supplies, planning, and checklist, you can successfully complete a move out clean. However, if you're on a tight schedule or require deep cleaning, consider hiring professionals.
4. Is move out cleaning required for every rental?
Most leases require a thorough cleaning before you leave. Always check your lease agreement and clarify expectations with your property manager or landlord to avoid surprises.

Final Steps: Finishing Touches Before You Hand Over the Keys
- Double-check each room: Walk through every space to ensure it's as clean as possible.
- Dispose of all garbage: Take out trash and recycling so the new tenants arrive to a fresh space.
- Return all keys and remotes: Leave them clearly labeled and in a visible place.
- Leave helpful notes: If needed, leave appliance manuals or tips for utility shutoff for the next tenant.
Conclusion: Leave Your Home Immaculate for the Next Tenants
Taking the time to follow a move out cleaning guide ensures a smooth transition for future tenants and leaves a positive final impression. Whether you clean yourself or opt for a professional service, attention to detail is key. By moving methodically from room to room, addressing both major areas and overlooked spots, you can confidently hand over your keys knowing you've left the property in excellent condition. For renters, this thorough approach means maximizing your deposit return; for homeowners, it means maintaining a solid reputation. Either way, move out cleaning you can follow leads to peace of mind and a successful move--for you and the next residents.
Ready to tackle your move out cleaning job? Save this checklist and start early for a stress-free move!